
I’m currently writing some C code. I have chosen to use Eclipse CDT as IDE. Eclipse is very powerful, but configuring it in the right way when starting a project can be complex. This article describes steps I followed to import some existing C code, creating a managed project. It is assumed that the reader has a basic knowledge of Eclipse.
Context
For what follows, we will work with some sample code, stored in following file hierarchy:
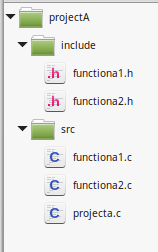
Header files are stored in include directory, while source code is stored in src directory.
I’m using Eclipse Oxygen 1a Release, on Linux Mint 18.2.
Note: the code I develop must be portable. The first version I write targets Linux on Intel processor. That’s why I’ll use Linux GCC toolchain in what follows. Then, when I’m happy with the version running on Linux, I check that code works OK on other targets (FreeRTOS on STM32, Arduino, etc.) Of course, every OS- or hardware-dependent code is isolated and adapted to related target.
Importing source code
I want to import the existing source code into Eclipse, creating a managed project, i.e. a project where makefiles are automatically generated and maintained by Eclipse.
To do this:
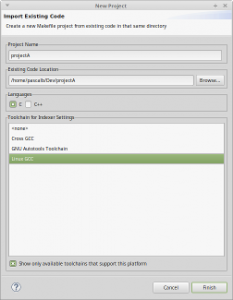
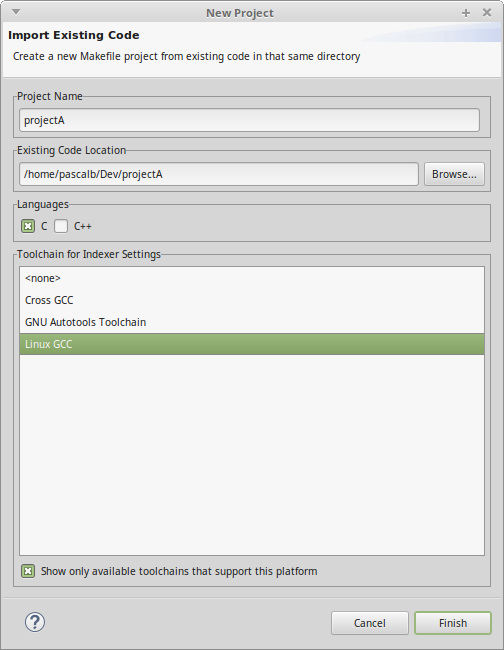
- File / New / Makefile Project with Existing Code
- enter project name
- select source code top-level directory
- uncheck C++
- select Linux GCC for toolchain
 Configuring project
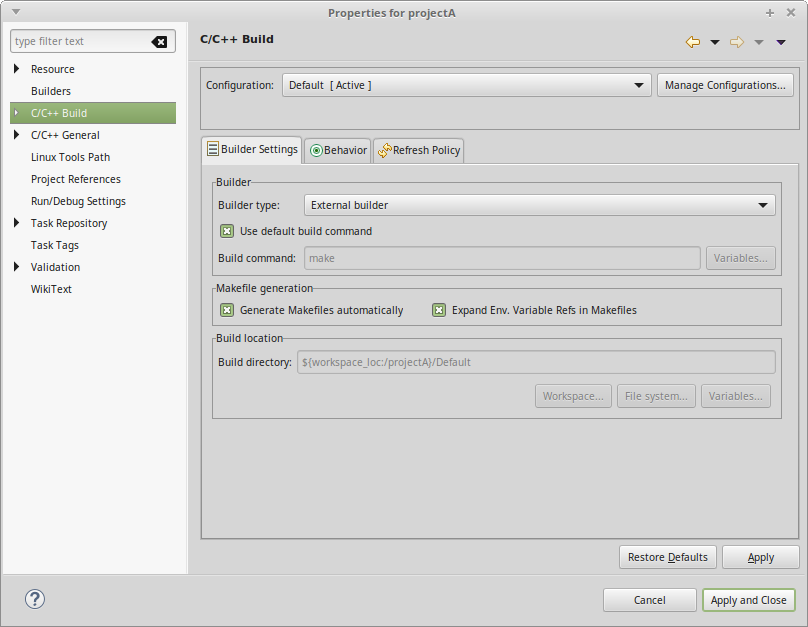
- Project / Properties / C/C++ Build
- check Generate Makefiles automatically
- Project / Properties / C/C++ Build / Settings / Build Artifact
- select Executable for Artifact Type

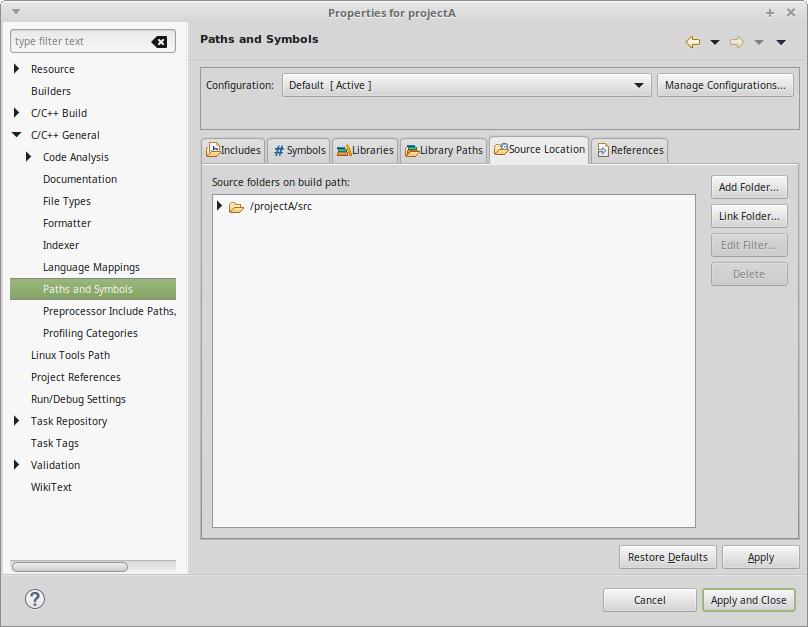
- Project / C/C++ General / Paths and Symbols / Source Location
- add source code directory
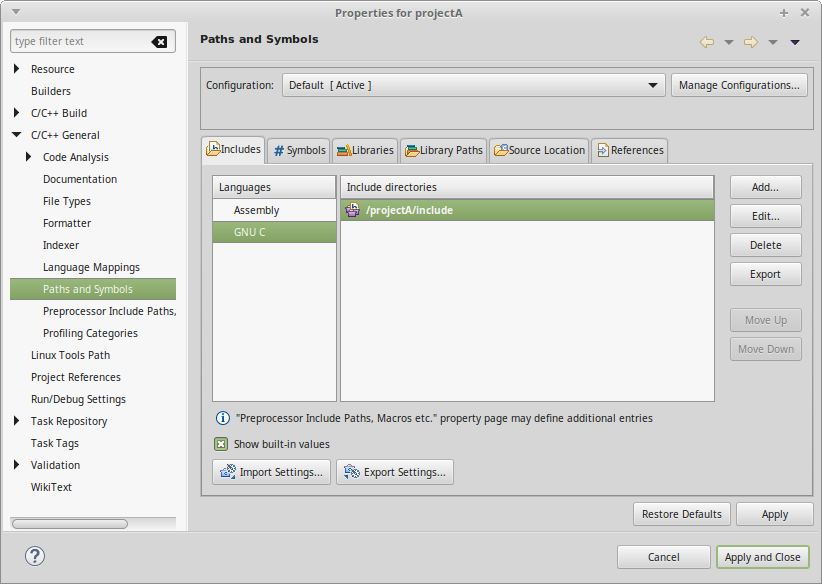
- Project / Properties / C/C++ General / Paths and Symbols
- in Languages column, select GNU C
- click on Add… button
- click on Workspace… button
- select include directory
 Building the project
- Project / Build Project
Running resulting executable
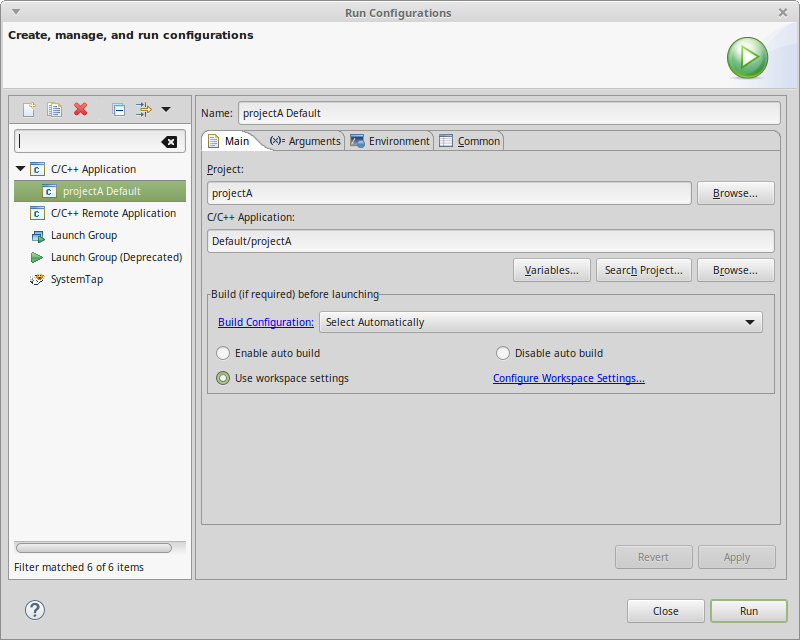
- Run / Run Configurations…
- select C/C++ Application and click on the New launch configuration icon
- check that Name, Project and C/C++ Application are filled in with the right values
The project is created under an Eclipse configuration named Default. You can create several configurations: one for debugging, one for releasing, etc.
To configure Eclipse CDT so that several different executables can be created in the same project, check this article.