This post explains how to use ST LoRaWAN development kit to transmit data over French Orange LoRaWAN network. We will use a sample source code from ST, which we will compile and link using System Workbench for STM32, based on Eclipse.
You need an active Orange Live Objects LPWA account.
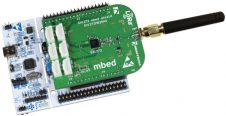
ST LoRaWAN development kit
ST LoRaWAN kit is a bundle of the NUCLEO-L073RZ board and a dedicated expansion board implementing a SX1272 radio transceiver. Libraries and application examples are provided by the I-CUBE-LRWAN software package.
Reference documentation
The UM2085 User Manual explains how to use the LoRaWAN kit.
The UM2073 User manual introduces I-CUBE-LRWAN software package.
Getting started with the LoRaWAN kit
Unplug the LoRa shield (expansion board).
Set Nucleo board jumpers as follows:
- JP1 (near the USB port) open – should already be the case
- beware: do not set JP5 (near reset button) on E5V, let it on U5V, unless you use batteries to power the board
- JP6 (near JP5) closed – should already be the case
On LoRa shield, connect the antenna to the ANT connector.
Plug the LoRa shield back on the Nucleo board. Connectors are asymetric, so you can’t plug it in the wrong way if you check that all pins are plugged in.
Software installation
Software installation described below has been tested on Linux Mint 18.1 and macOS Sierra. It should work on Microsoft Windows as well.
Install a terminal emulator. On a Mac, this can be SerialTools, for instance. On Linux, you can use CuteCom.
Install Eclipse IDE for C/C++ developers.
After having signed up at OpenSTM32’s website, follow Eclipse plugin installation instructions. Do not request installation of deprecated tools. For Linux, do not forget to add the specific ST-Link udev rule, as stated by the installation instructions.
After having signed up at ST’s website, download I-CUBE-LRWAN. Unzip the file.
LoRa application compilation
Start Eclipse, go to File / Import… / General / Projects from Folder or Archive. Click on Next button. Click on Directory… button, and select End_Node folder. Then, keep ticked End_Node and sx1272mb2das for STM32L073RZ-Nucleo projects only:
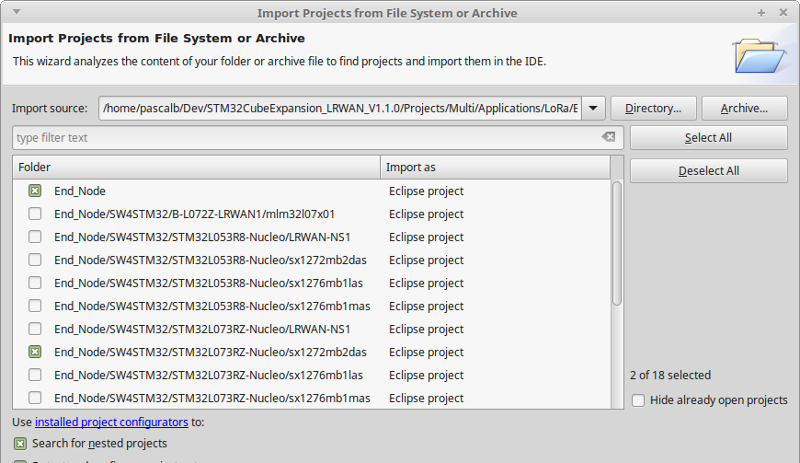
Click on Finish button.
The projects are now visible in the Project Explorer view. Go to Project / Build All. The Console view displays build messages:
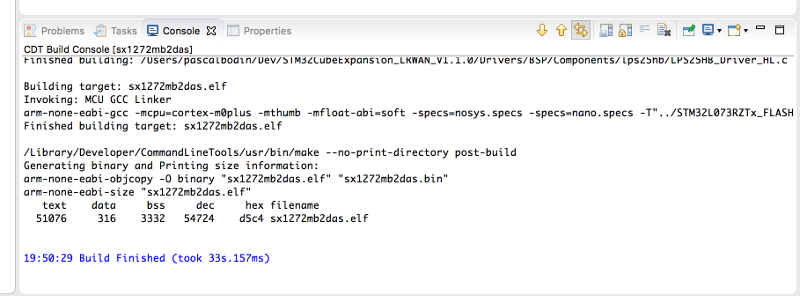
The binary file resulting from the build can be found in the Debug folder:

Programming the Nucleo board
Connect the LoRaWAN kit to the computer. The Nucleo board should become visible as a mass storage device.
Start the terminal emulator you installed. Select the (virtual) serial port created over the USB port. Set speed to 115200 b/s, data bits to 8, stop bits to 1, parity to none, and flow control to none. For SerialTools, on a Mac, this gives:
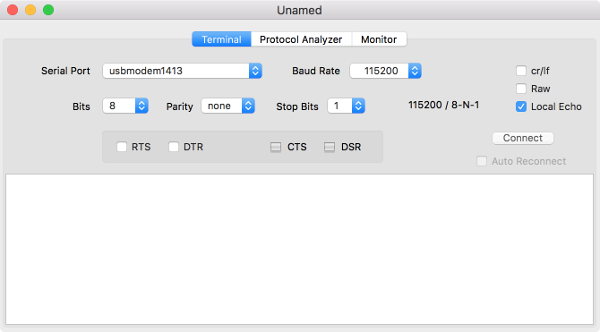
Click on the Connect button.
Then copy the binary file resulting from the build to the Nucleo board, using the associated mass storage device as target of the copy operation. The Nucleo board LED placed near the USB port blinks for a few seconds. Then, the terminal emulator displays following lines:
OTAA
DevEui= 33-39-34-37-60-35-86-14
AppEui= 01-01-01-01-01-01-01-01
AppKey= 2B 7E 15 16 28 AB F7 15 88 09 CF 4F 3C
VERSION: 44011000

txDone
rxTimeOut
rxTimeOut
The last three lines are repeated until the LoRaWAN kit is accepted by Orange LoRaWAN network.
Orange Live Objects configuration
Using your Live Objects credentials, connect to your account, and register the LoRaWAN kit using the information displayed by the terminal emulator:
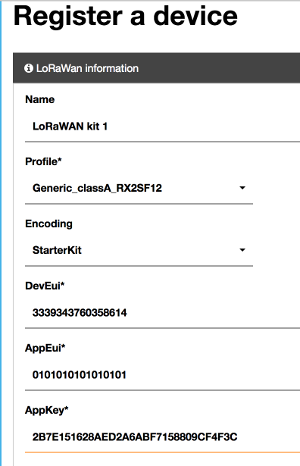
The profile and the encoding were chosen more or less at random (!).
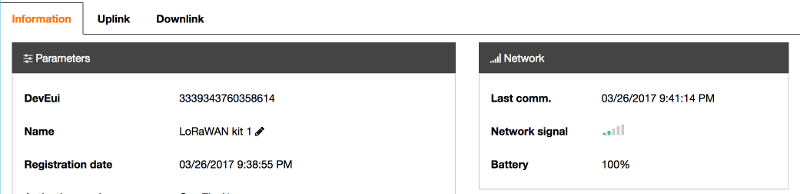
Wait until the word JOINED is displayed in the terminal emulator. The LoRaWAN kit is now seen as active by Live Objects:
That’s it!
You can now start modifying the LoRaWAN application source code, in order to adapt it to your requirements.